11. Creating Basic Zope Applications
Note
In order to create objects of type Script (Python) make sure to also
install the package Products.PythonScripts.
This chapter will take you, step by step, through building a basic web application in Zope. As we go through the chapter, we will examine some of Zope’s main concepts at work. Using Zope Folder, Script (Python), and Page Template objects, we’ll create a simple website for an imaginary zoo: the “Zope Zoo”, of course!
We will develop the website as a Zope “instance-space” application. A discussion of instance space is at the end of this chapter, but for now it is enough to know that instance-space applications are the easiest and fastest kind to build, because we can do everything in our favorite web browser.
11.1. Goals for the Zope Zoo Web Site
As with any project, we first need to clarify our goals for the Zope Zoo application. The application’s primary goal is to create a website for the world-renowned Zope Zoo. Furthermore, we want to make the website easy to use and manage. Here are some things we’ll do:
Enable web users to navigate the site easily, as if they were moving around a real zoo.
Keep all our shared web layout tools, like a Cascading Style Sheet (CSS), in a single, easy-to-manage location.
Design the website so that future site-wide changes are quick and easy to implement.
Take advantage of Zope to create a dynamic website in which web pages build themselves “on the fly” when requested so that they are always up to date.
Provide a simple file library of various documents that describe the animals.
11.2. Beginning with a Folder
Zope Folder objects provide natural containers and organizers for web applications. A good way to start building an application is to create a new Folder to hold all the objects and subfolders related to the application.
Consider, for example, a Zope folder named Invoices to hold an application for managing invoices through the Web. The Invoices folder could contain both the logic objects - or “methods” - which allow you to add and edit invoices, as well as the actual data of the invoices. The Invoices folder thus becomes a small Zope application.
We begin building our Zope Zoo website application by creating a Zope Folder object to hold it all together in one place.
11.2.1. Step 1: Create ZopeZoo Folder
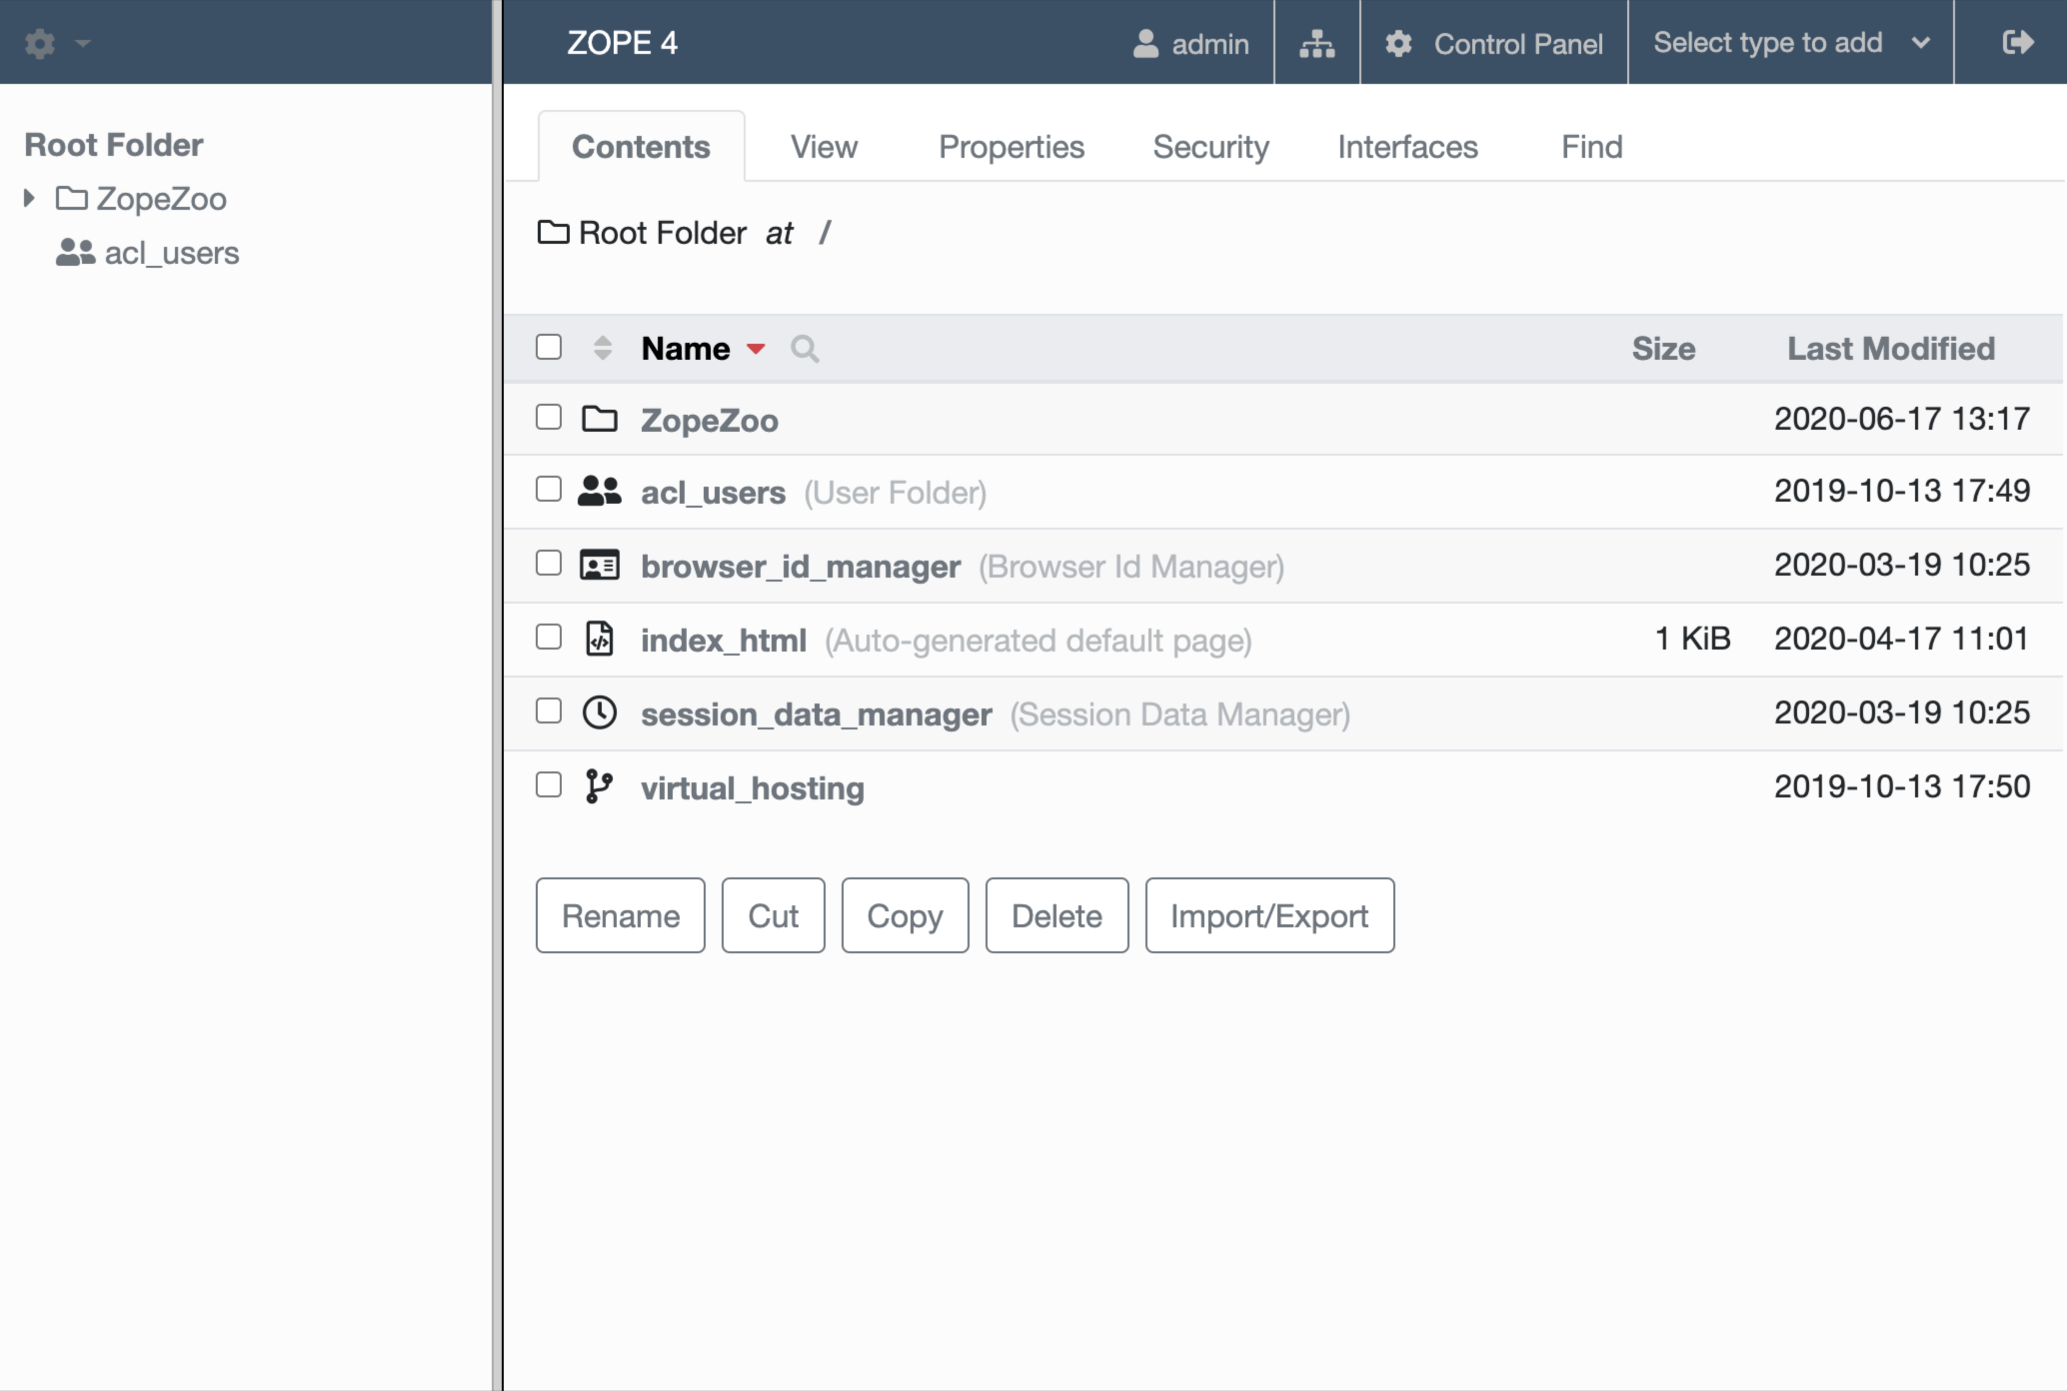
If you haven’t already, start your Zope installation and log into the Zope Management Interface (ZMI) using your favorite browser. (If you are not familiar with the ZMI, refer to the Installing and Starting Zope chapter.)
Navigate to Zope’s top-level root folder.
Use the Select type to add dropdown to create a new Folder. (We will refer to this dropdown as “Add list” from here on out)
Give the new folder the Id ‘ZopeZoo’.
Click Add.
(For now, we will ignore the optional Title field.)
11.3. Designing a Navigable Zoo
One of our goals is to enable easy user movement around the website. A key to this easy movement is a navigation interface that is consistent among the site’s pages. In other words, every web page in the site should present a similar set of hyperlinks, in a similar place on the page, on which users can rely to guide them through the site.
We also want to make sure the navigation links are always correct, regardless of how the structure of the site changes. The solution is to design a meaningful site structure, and then create the Zope methods that will dynamically present the current structure to web users in the form of navigation links.
First, let’s define the site structure. If the Zope Zoo was real, we might model the website’s organization on the zoo’s physical or logical design. For our purposes, we will pretend that the zoo houses three classes of animals. We’ll organize the website by adding folders inside our ZopeZoo folder.
11.3.1. Step 2: Create Site Organization
Enter the ZopeZoo folder and create three subfolders with Ids: ‘Reptiles’, ‘Mammals’ and ‘Fish’.
Inside the Mammals folder, add one folder named ‘Whales’.
Navigate to the Reptiles folder and create two folders there: ‘Lizards’ and ‘Snakes’.
In Zope’s Navigator frame on the left side, you should see an icon for the ZopeZoo folder. (If you don’t see it, click on the cogwheel icon and then click Refresh in the Navigator). To view the ZopeZoo folder hierarchy - i.e. our nascent web site’s structure - expand the ZopeZoo folder by clicking the little triangle next to the icon. Similarly expand the zoo subfolders. You’ll see something like the figure below.
Zoo folder structure
Now we create the basic presentation objects: The main template and the style sheet z_zoo.css. To get started, we ask a web designer to create a HTML mockup and a CSS file that together represent the web page layout shared throughout the site.
For the style sheet we create a simple File object in Zope. No need to make it dynamic.
11.3.2. Step 3: Create the Style Sheet
Go to the top level of our zoo website, the ZopeZoo folder.
Select File from the Add list.
Give the file an Id of ‘z_zoo.css’.
Click Add.
Select z_zoo.css to get its Edit view.
Copy and paste these style definitions into the File Data area:
body, p, th, td {
  font-family: Verdana, Arial, Helvetica, sans-serif;
  font-size: 10pt;
}
h1 {
  color: #6699cc;
  font-family: Verdana, Arial, Helvetica, sans-serif;
  font-size: 18pt;
  font-weight: bold;
}
p {
  color: #660000;
}
.status_message{
  background: #ffffaa;
  border-style: solid;
  border-width: thin;
  font-weight: bold;
  padding: 4pt;
}
th {
  background: #dee7ec;
  text-align: left;
}
At this stage, the HTML page the web designer created for us is valid XHTML 1.0 Strict and could also live in a static File object. But in the next steps we will convert the page into a dynamic template by adding TAL and METAL statements, so we need a Page Template object:
Go back to the top level of our zoo website, the ZopeZoo folder.
Select Page Template from the Add list.
Give the Page Template an Id of ‘index_html’.
Click Add.
11.3.3. Step 4: Create the Main Template
Select index_html to get its Edit view.
Replace all of the stock template code with this:
<!DOCTYPE html> <html> <head> <title>PAGE TITLE OR ID</title> <link rel="stylesheet" href="z_zoo.css" type="text/css" /> </head> <body> <div>> <a href="ABSOLUTE_URL">PARENT TITLE OR ID</a> </div> <ul> <li><a href="ABSOLUTE_URL">SUB-OBJECT TITLE OR ID</a></li> </ul> <h1>PAGE TITLE OR ID</h1> <p class="status_message">STATUS MESSAGE</p> <p>THIS IS WHERE THE PAGE'S CONTENT GOES.</p> </body> </html>
Our web designer marked placeholders for dynamic elements with UPPERCASE letters. Using the Test tab of the new template, we can see the static HTML page. Don’t blame the web designer for the spartan layout. It’s for the sake of an easy example. If you don’t understand the XHTML and CSS code you might want to learn more about HTML first. This chapter shows you how to make that code dynamic.
11.3.4. Step 5: Dynamic Title and Headline
Go to the Edit tab of index_html.
Find these two lines:
<title>PAGE TITLE OR ID</title>
...
<h1>PAGE TITLE OR ID</h1>
Change them to look like that:
<title tal:content="context/title_or_id">PAGE TITLE OR ID</title>
...
<h1 tal:content="context/title_or_id">PAGE TITLE OR ID</h1>
The path expression ‘context/title_or_id’ returns the title of the context object or - if that doesn’t exist - its id. We work in the context of the ZopeZoo folder, which has no title. So clicking again on the Test tab you’ll see that title and headline are replaced by the id ZopeZoo. (You might want to open the Test tab in a new window to see the title of the browser window.) After completing the next step you’ll be able to navigate to subfolders and see title and headline change depending on the context.
11.3.7. Step 8: Dynamic Status Bar
Go to this line:
<p class="status_message">STATUS MESSAGE</p>
Extend it by two tal attributes:
<p class="status_message"
   tal:condition="options/status_message | nothing"
   tal:content="options/status_message">STATUS MESSAGE</p>
We need the status bar later in this chapter. For now all we need is to make it invisible. ‘options/status_message’ will later be used for some messages. But most pages don’t have that variable at all and this path expression would raise an error. ‘options/status_message | nothing’ catches that error and falls back to the special value nothing. This is a common pattern to test if a value exists and is true.
11.3.8. Step 9: Improve Style Sheet Link
Find this line in the HTML head:
<link rel="stylesheet" href="z_zoo.css" type="text/css" />
Replace it by:
<link rel="stylesheet" href="z_zoo.css" type="text/css"
      tal:attributes="href context/z_zoo.css/absolute_url" />
While the relative URI of the href attribute works thanks to acquisition, this isn’t a good solution. Using the index_html method for different folders, the browser can’t know that all the z_zoo.css files are in fact one and the same. Besides the CSS file the basic layout often contains a logo and other images, so making sure they are requested only once makes your site faster and you waste less bandwidth. The path expression ‘context/z_zoo.css/absolute_url’ returns the absolute url of the CSS file. Using it in the href attribute we have a unique URI independent of the current context.
11.3.9. Step 10: Factor out Basic Look and Feel
Rename index_html to ‘z_zoo.pt’.
Wrap a ‘metal:define-macro’ statement around the whole page and add two ‘metal:define-slot’ statements for headline and content. After all these changes our main template - now called z_zoo.pt - looks like this:
<metal:macro metal:define-macro="page"><!DOCTYPE html> <html> <head> <title tal:content="context/title_or_id">PAGE TITLE OR ID</title> <link rel="stylesheet" href="z_zoo.css" type="text/css" tal:attributes="href context/z_zoo.css/absolute_url" /> </head> <body> <div><tal:loop tal:repeat="item python: request.PARENTS[-2::-1]">> <a href="ABSOLUTE_URL" tal:attributes="href item/absolute_url" tal:content="item/title_or_id">PARENT TITLE OR ID</a> </tal:loop></div> <ul tal:condition="python: context.objectValues(['Folder'])"> <li tal:repeat="item python: context.objectValues(['Folder'])"> <a href="ABSOLUTE_URL" tal:attributes="href item/absolute_url" tal:content="item/title_or_id">SUB-OBJECT TITLE OR ID</a></li> </ul> <metal:slot metal:define-slot="headline"> <h1 tal:content="context/title_or_id">PAGE TITLE OR ID</h1> </metal:slot> <p class="status_message" tal:condition="options/status_message | nothing" tal:content="options/status_message">STATUS MESSAGE</p> <metal:slot metal:define-slot="content"> <p>THIS IS WHERE THE PAGE'S CONTENT GOES.</p> </metal:slot> </body> </html> </metal:macro>Add again a new Page Template with the id ‘index_html’.
Replace the example code of index_html with these two lines:
<metal:macro metal:use-macro="context/z_zoo.pt/macros/page">
</metal:macro>
Transforming our main template into an external macro and including it again using the ‘metal:use-macro’ statement doesn’t change the resulting HTML page in any way. But in the next step we can add code we only want to use in index_html without changing the main template.
The ‘metal:define-macro’ statement in z_zoo.pt marks the complete template as reuseable macro, giving it the id page. The expression ‘context/z_zoo.pt/macros/page’ in index_html points to that macro.
For later use we also added two ‘metal:define-slot’ statements within the macro. That allows to override headline and body while reusing the rest of the macro.
11.3.10. Step 11: Add Special Front Page Code
Go to the Edit tab of the new index_html.
Replace it by this code:
<metal:macro metal:use-macro="context/z_zoo.pt/macros/page">
<metal:slot metal:fill-slot="headline">

  <h1>Welcome to the Zope Zoo</h1>

</metal:slot>
<metal:slot metal:fill-slot="content">

  <p>Here you will find all kinds of cool animals. You are in the
    <b tal:content="context/title_or_id">TITLE OR ID</b> section.</p>

</metal:slot>
</metal:macro>
The index_html should serve as the welcome screen for zoo visitors. In order to do so, we override the default slots. Take a look at how your site appears by clicking on the View tab of the ZopeZoo folder.
You can use the navigation links to travel through the various sections of the Zoo. Use this navigation interface to find the reptiles section. Zope builds this page to display a folder by looking for the default folder view method, index_html. It walks up the zoo site folder by folder until it finds the index_html method in the ZopeZoo folder. It then calls this method on the Reptiles folder.
11.4. Modifying a Subsection of the Site
What if you want the reptile page to display something besides the welcome message? You can replace the index_html method in the reptile section with a more appropriate display method and still take advantage of the main template including navigation.
11.4.1. Step 12: Create index_html for the Reptile House
Go to the Reptile folder.
Add a new Page Template named ‘index_html’.
Give it some content more appropriate to reptiles:
<metal:macro metal:use-macro="context/z_zoo.pt/macros/page">
<metal:slot metal:fill-slot="headline">

  <h1>The Reptile House</h1>

</metal:slot>
<metal:slot metal:fill-slot="content">

  <p>Welcome to the Reptile House.</p>

  <p>We are open from 6pm to midnight Monday through Friday.</p>

</metal:slot>
</metal:macro>
Now take a look at the reptile page by going to the Reptile folder and clicking the View tab.
Since the index_html method in the Reptile folder uses the same macro as the main index_html, the reptile page still includes your navigation system.
Click on the Snakes link on the reptile page to see what the Snakes section looks like. The snakes page looks like the Reptiles page because the Snakes folder acquires its index_html display method from the Reptiles folder instead of from the ZopeZoo folder.
11.5. Creating a File Library
File libraries are common on websites since many sites distribute files of some sort. The old fashioned way to create a file library is to upload your files, then create a web page that contains links to those files. With Zope you can dynamically create links to files. When you upload, change or delete files, the file library’s links can change automatically.
11.5.1. Step 13: Creating Library Folder and some Files
Add a new Folder to ZopeZoo with Id ‘Files’ and Title ‘File Library’.
Within that folder, add two File objects called ‘DogGrooming’ and ‘HomeScienceExperiments’.
We don’t need any content within the files to test the library. Feel free to add some more files and upload some content.
11.5.2. Step 14: Adding index_html Script and Template
Within the Files folder, add this new Script (Python) with the Id ‘index_html’:
library_items = []
items = context.objectValues(['File'])
for item in items:
    library_items.append(
            { 'title': item.title_or_id(),
              'url': item.absolute_url(),
              'modified': container.last_modified(item),
              } )

options = { 'library_items': tuple(library_items) }

return options
Also add a new Page Template named ‘index_html.pt’ with this content:
<metal:macro metal:use-macro="context/z_zoo.pt/macros/page">
<metal:slot metal:fill-slot="content">

  <table>
    <tr>
      <th width="300">File</th>
      <th>Last Modified</th>
    </tr>
    <tr>
      <td><a href="URL">TITLE</a></td>
      <td>MON DD, YYYY H:MM AM</td>
    </tr>
  </table>

</metal:slot>
</metal:macro>
This time the logic for our ‘index_html’ method will be more complex, so we should separate logic from presentation. We start with two unconnected objects: A Script (Python) to generate the results and a Page Template to present them as HTML page.
The script loops over ‘context.objectValues([‘File’])’, a list of all File objects in our Files folder, and appends for each file the needed values to the library_items list. Again the dynamic values are UPPERCASE in our mockup, so what we need are the file title, the url and the last modified date in a format like this: Mar 1, 1997 1:45 pm. Most Zope objects have the bobobase_modification_time method that returns a DateTime object. Looking at the API of DateTime, you’ll find that the aCommon method returns the format we want.
Later we will have more return values, so we store them in the options dictionary. Using the Test tab of the script you will see the returned dictionary contains all the dynamic content needed by our template.
The template uses again the page macro of z_zoo.pt. Unlike before there is only one ‘metal:fill-slot’ statement because we don’t want to override the headline slot. Go to the Test tab of the template to see how our file library will look like.
11.5.3. Step 15: Bringing Things Together
Replace the last line of the index_html script by this one:
return getattr(context, 'index_html.pt')(**options)
Look for this example table row in index_html.pt:
<tr>
  <td><a href="URL">TITLE</a></td>
  <td>MON DD, YYYY H:MM AM</td>
</tr>
Replace it by that code:
<tr tal:repeat="item options/library_items">
  <td><a href="URL"
         tal:attributes="href item/url"
         tal:content="item/title">TITLE</a></td>
  <td tal:content="item/modified">MON DD, YYYY H:MM AM</td>
</tr>
Now our script calls the index_html.pt after doing all the computing and passes the resulting options dictionary to the template, which creates the HTML presentation of options. The Test tab of the template no longer works because it now depends on the script. Go to the Test tab of the script to see the result: The file library!
If you add another file, Zope will dynamically adjust the file library page. You may also want to try changing the titles of the files, uploading new files, or deleting some of the files.
11.5.4. Step 16: Making the Library Sortable
Find the table headers in index_html.pt:
<th width="300">File</th>
<th>Last Modified</th>
Replace them with these dynamic table headers:
<th width="300"><a href="SORT_TITLE_URL"
       tal:omit-tag="not: options/sort_title_url"
       tal:attributes="href options/sort_title_url"
       >File</a></th>
<th><a href="SORT_MODIFIED_URL"
       tal:omit-tag="not: options/sort_modified_url"
       tal:attributes="href options/sort_modified_url"
       >Last Modified</a></th>
Extend index_html to make it look like this:
## Script (Python) "index_html"
##parameters=sort='title'
##
library_items = []
items = context.objectValues(['File'])
if sort == 'title':
    sort_on = ( ('title_or_id', 'cmp', 'asc'), )
    sort_title_url = ''
    sort_modified_url = '%s?sort=modified' % context.absolute_url()
else:
    sort_on = ( ('_p_mtime', 'cmp', 'desc'), )
    sort_title_url = '%s?sort=title' % context.absolute_url()
    sort_modified_url = ''
items = sequence.sort(items, sort_on)
for item in items:
    library_items.append(
            { 'title': item.title_or_id(),
              'url': item.absolute_url(),
              'modified': container.last_modified(item),
              } )

options = { 'sort_title_url': sort_title_url,
            'sort_modified_url': sort_modified_url,
            'library_items': tuple(library_items) }

return getattr(context, 'index_html.pt')(**options)
The changes in the template are quite simple. If an url is provided, the column header becomes a link. If not, the ‘not:’ expression of the ‘tal:omit-tag’ statement is true and the ‘a’ tag is omitted. The script will always provide an url for the column that isn’t currently sorted.
Basically we have to extend the logic, so most changes are in the script. First of all we define an optional parameter sort. By default it is ‘title’, so if no value is passed in we sort by title. Sort criteria and urls depend on the sort parameter. We use the sort function of the built in sequence module to apply the sort criteria to the items list.
Now view the file library and click on the File and Last Modified links to sort the files. If there is a sort variable and if it has a value of modified then the files are sorted by modification time. Otherwise the files are sorted by title.
11.6. Building “Instance-Space” Applications
In Zope, there are a few ways to develop a web application. The simplest and fastest way, and the one we’ve been concentrating on thus far in this book, is to build an application in instance space. To understand the term “instance space”, we need to once again put on our “object orientation hats”.
When you create Zope objects by selecting them from the Zope “Add” list, you are creating instances of a class defined by someone else (see the Object Orientation chapter if you need to brush up on these terms). For example, when you add a Script (Python) object to your Zope database, you are creating an instance of the Script (Python) class. The Script (Python) class was written by a Zope Corporation engineer. When you select “Script (Python)” from the Add list, and you fill in the form to give an id and title and whatnot, and click the submit button on the form, Zope creates an instance of that class in the Folder of your choosing. Instances such as these are inserted into your Zope database and they live there until you delete them.
In the Zope application server, most object instances serve to perform presentation duties, logic duties, or content duties. You can “glue” these instances together to create basic Zope applications. Since these objects are really instances of a class, the term “instance space” is commonly used to describe the Zope root folder and all of its subfolders. “Building an application in instance space” is defined as the act of creating Zope object instances in this space and modifying them to act a certain way when they are executed.
Instance-space applications are typically created from common Zope objects. Script (Python) objects, Folders, Page Templates, and other Zope services can be glued together to build simple applications.
11.7. Instance-Space Applications vs. Python packages
In contrast to building applications in instance space, you may also build applications in Zope by building them as Python packages. Building an application as a package differs from creating applications in instance space inasmuch as the act of creating a package typically is more familiar to developers and does not constrain them in any way.
Building a package also typically allows you to more easily distribute an application to other people, and allows you to build objects that may more closely resemble your “problem space”.
Building a package is typically more complicated than building an “instance-space” application, so we get started here by describing how to build instance-space applications. When you find that it becomes difficult to maintain, extend, or distribute an instance-space application you’ve written, it’s probably time to reconsider rewriting it as a package.
11.8. The Next Step
This chapter shows how simple web applications can be made. Zope has many more features in addition to these, but these simple examples should get you started on create well managed, complex websites.
In the next chapter, we’ll see how the Zope security system lets Zope work with many different users at the same time and allows them to collaborate together on the same projects.